|
|
Making a Spry Dropdown MenuA lot goes into creating a drop down menu for your website. You have to plan the regular state, the hover state, an active state if you want to show your user where they are or where they came from. This isn't so straightforward for the novice web designer, as there are a lot of steps to building a dropdown menu with CSS. Adobe understood that this can be difficult, so they implemented the Spry framework to help designers build their own drop down menus right inside of Dreamweaver. In this tutorial, we will be implementing a horizontal drop down menu just under the header of our site. To do this is actually pretty easy, and Dreamweaver makes the steps fairly easy to follow. First, select the area of your site that you want to insert your menu. The go to Insert> Spry> Spry Menu Bar. A dialog box will come up, asking you if you wish to create a horizontal or a vertical menu bar. For this tutorial, we are choosing horizontal. 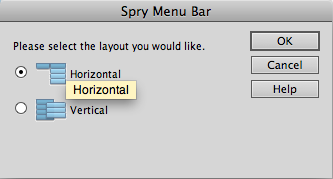
Set Up Spry Menu StructureA default menu will come up, and in the Properties Panel at the bottom you will see a set of menu options allowing you to structure your menu however you wish. You can replace item1, item2 and item3 with actually names or titles, and each one of those can be broken down into subcategories. This allows you to focus on the structure of your menu and how each page will branch out into more pages. 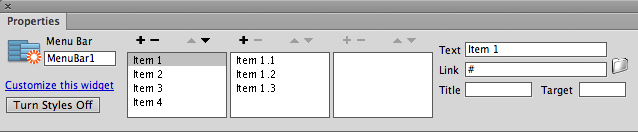
You can use the "+" and "-" symbols to add and take away menu items that you don't need. The far right column allows you to link the menu item to its intended page, which makes it easy to set up your menu and get it working. Once you are done setting up the structure of your menu, it is a good idea to save your work. Once you do so, Dreamweaver will want to include CSS and Javascript files in your site's folder. The dialog box shown below will pop up, asking you if this is what you want to do, so click OK. 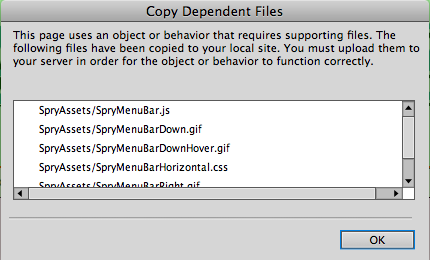
Once you have saved, you can preview your menu, which is fairly simple at the moment. It is light gray, and when you hover over it with your mouse, it should turn the default blue, that is typical of most default links. 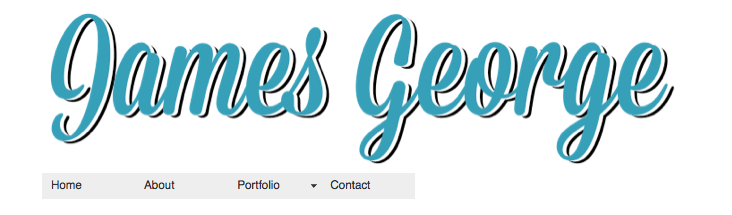
If you double-click on "SpryMenuBarHorizontal.css" in the CSS Styles Panel, you will notice that Dreamweaver automatically changes to split screen mode, opening up the css file. The great thing about the CSS file is that it is commented fairly well. Each comment tells you what the next piece of code controls, so you know what to edit in order to make your menu look how you want. 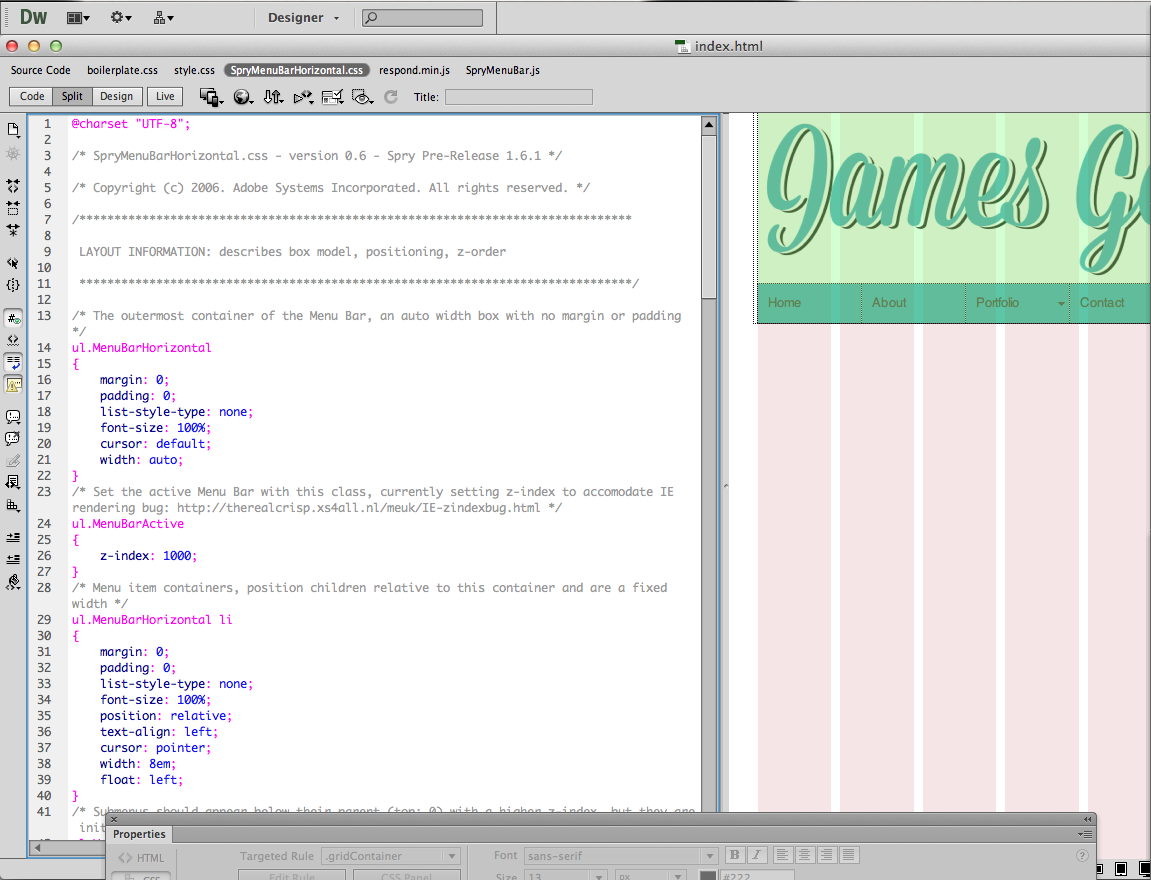
Edit Spry Menu CSSScroll down to line 84, where Dreamweaver has labeled that this is the color information for your menu. This is the section where you can control the color or the menu and control whether or not that it has borders. The sample code for the normal state is shown below. I changed the code so that there are no borders, and the background color of light gray was changed to #37A0B9, which is the color close to the sample logo. If the horizontal menu isn't tall enough, you can change the 1st padding value from 0.5em to something higher. The result will look like the example below. 
The next thing that we need to do is change the color of the menu from the default blue to a custom color that we like. Change the background color to a darker or lighter version of the normal state, depending on your intended outcome. I changed the background color to #2B7A8C, which is a darker color. Change the color for the text so that it contrasts well against your menu color. I left the example as white. You may have also noticed that our navigation menu doesn't span across the entire site. To fix this, I inserted it within a wrapper div called "nav". Then, I simply styled it to have the same background color as the menu in its normal state. 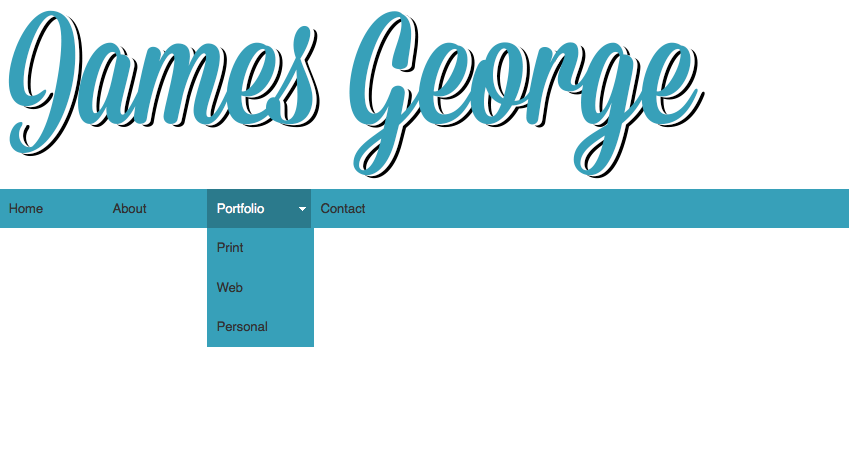
ConclusionDreamweaver has integrated the Spry menu system to make it easy to create your own drop down menus into your site. Although they are fairly basic, you can add your own custom CSS to make them fit your site much better. This system uses its own CSS to style the menu system, complete with comments, making it easy to know what to edit, but keep in mind that the menu isn't pure CSS, as it utilizes javascript as well, which may add another layer of challenges to consider. If your user doesn't have javascript enabled in their browser, then your menu may not display properly. |